Agentic Git Identity
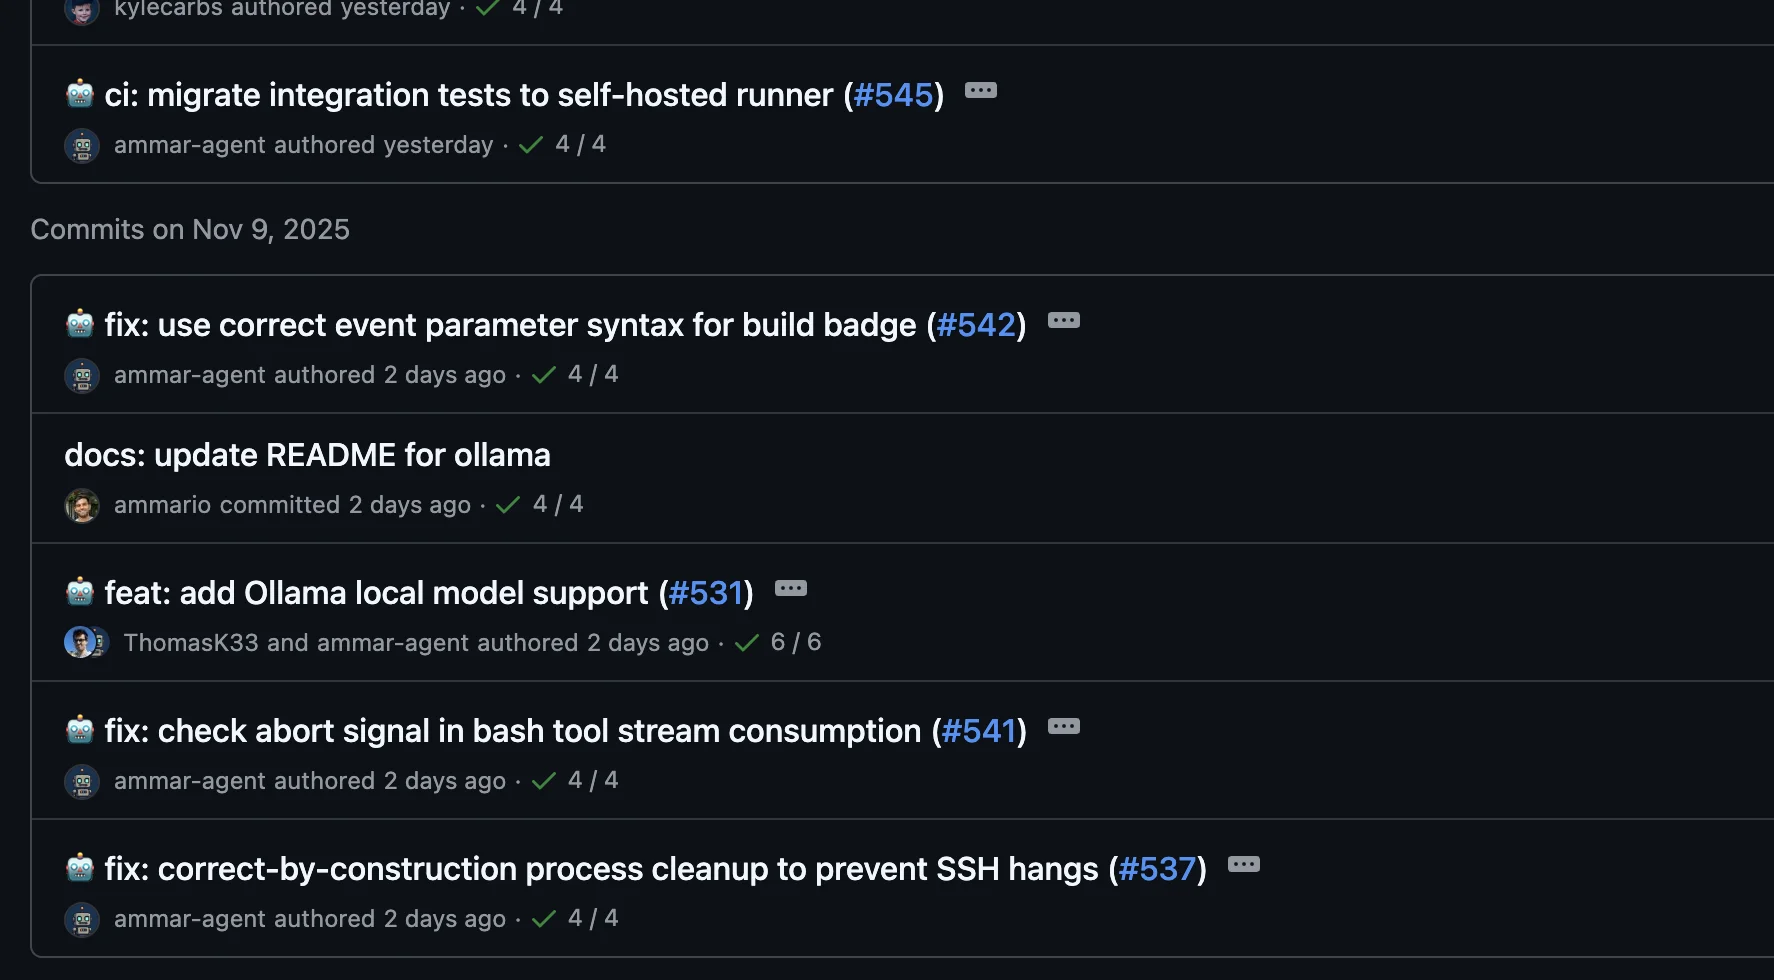
Configure mux to use a separate Git identity for AI-generated commits, making it easy to distinguish between human and AI contributions. Reasons to use a separate identity include:
- Clear attribution
- Preventing (accidental) destructive actions
- Enforcing review flow, e.g. preventing AI from merging into
mainwhile allowing humans

Setup Overview
- Create a GitHub account for your agent (e.g.,
username-agent) - Generate a Classic GitHub token
- Configure Git to use the agent identity
- Configure Git credentials to use the token
Step 1: Create Agent GitHub Account
Create a separate GitHub account for your agent:
- Sign up at github.com/signup
- Use a distinctive username (e.g.,
yourname-agent,yourname-ai) - Use a separate email (GitHub allows plus-addressing:
yourname+ai@example.com)
Note: This is optional but recommended. You can also use your main account with a different email/name.
Step 2: Generate Classic GitHub Token
Classic tokens are easier to configure than fine-grained tokens for repository access.
- Log into your agent GitHub account
- Go to Settings → Developer settings → Personal access tokens → Tokens (classic)
- Click "Generate new token (classic)"
- Configure the token:
- Note: "mux agent token" (or similar)
- Expiration: Choose based on your security preferences
- Scopes: Select
repo(Full control of private repositories)
- Click "Generate token"
- Copy the token immediately - you won't see it again
Step 3: Configure Git Identity
Add the Git identity environment variables as Project Secrets in mux:
- Open mux and find your project in the sidebar
- Click the 🔑 key icon to open the secrets modal
- Add the following four secrets:
GIT_AUTHOR_NAME=Your Name (Agent)GIT_AUTHOR_EMAIL=yourname+ai@example.comGIT_COMMITTER_NAME=Your Name (Agent)GIT_COMMITTER_EMAIL=yourname+ai@example.com
- Click "Save"
These environment variables will be automatically injected when the agent runs Git commands in that project.
Note: If you need the agent identity outside of mux, you can alternatively set these as global environment variables in your shell configuration (
~/.zshrc,~/.bashrc, etc.)
Step 4: Configure GitHub Authentication
Install GitHub CLI
If you don't have it:
# macOS
brew install gh

# Windows
winget install --id GitHub.cli

# Linux
# See https://github.com/cli/cli/blob/trunk/docs/install_linux.md
Configure Git Credential Helper
Set up Git to use the GitHub CLI for authentication. The recommended approach is to use gh auth setup-git, which scopes the credential helper to GitHub only:
# Configure gh as credential helper for GitHub (recommended)
gh auth setup-git
This configures Git to use gh for GitHub authentication while preserving your existing credential helpers for other Git hosts.
Alternative: Manual configuration (for advanced users)
If you need more control or want to completely replace existing credential helpers:
# Scope to GitHub only (preserves other credential helpers)
git config --global credential.https://github.com.helper '!gh auth git-credential'

# OR: Replace all credential helpers (may break non-GitHub authentication)
git config --global --unset-all credential.helper
git config --global credential.helper ""
git config --global --add credential.helper '!gh auth git-credential'
⚠️ Warning: The "replace all" approach will disable platform keychain helpers and may break Git authentication for non-GitHub remotes (GitLab, Bitbucket, etc.).